
Pocket doors are sleek, stylish, and space-saving. Over the years, though, they can wear down, stick, or fall off their tracks. Many homeowners wonder, how do you replace a pocket door without tearing down walls or hiring costly contractors. The good news is, with the right steps and tools, you can do it yourself. In this guide, we’ll walk through everything from removal and track repair to full replacement. You’ll also learn when it makes sense to call in experts for a smooth and lasting result.
Understanding Pocket Doors and Why They Are Popular
Pocket doors slide neatly into a hidden wall compartment instead of swinging open. This design saves floor space and keeps rooms looking clean. Homeowners often choose them for bathrooms, closets, and laundry rooms where space is limited.
Beyond saving space, pocket doors can add a modern touch to interiors. They feel seamless and can make small homes feel larger. However, they also have moving parts like rollers and tracks, which wear down over time. Once that happens, you may face sticking, dragging, or misalignment. Understanding these basics helps you know what to expect during removal or replacement.
When to Consider Replacing or Removing a Pocket Door
Not every pocket door issue means you need to start fresh. Sometimes small repairs are enough. For example, if the door is squeaking, lubrication may fix it. If rollers are loose, tightening screws may help.
You should think about full replacement if:
-
The door no longer slides smoothly even after adjustments.
-
The track is bent or broken.
-
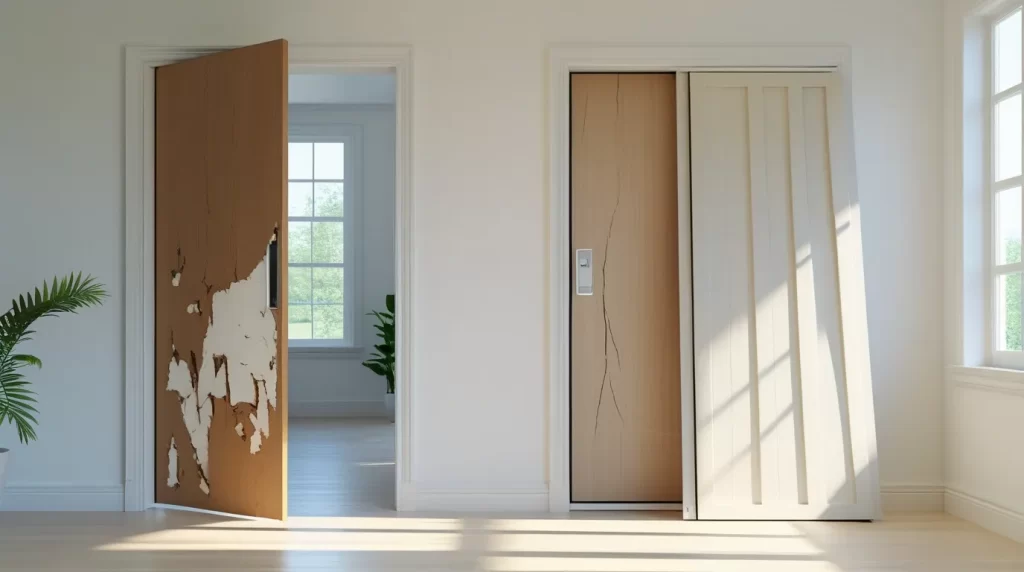
The wood panel is cracked, warped, or water-damaged.
-
The door constantly comes off its track.
-
You want a style upgrade to match a remodel.
Old pocket doors can also make painting or refinishing walls tricky. In those cases, removing them for temporary work is the smart move.
Tools and Supplies You Will Need Before Starting
Preparation is key. Having all the tools ready will save time and frustration. You’ll need:
-
Screwdrivers (Phillips and flathead)
-
Pliers and a hammer
-
Utility knife for scoring trim
-
Level to check alignment
-
Tape measure
-
Pry bar for removing trim
-
Replacement rollers or a new track
-
Wood shims for adjustments
-
Sandpaper, primer, and paint (if refinishing)
Keep a container for screws and nails so you don’t lose them. Always measure your opening before buying parts. A mismatched track or panel will waste time and money. Being organized makes pocket door replacement smooth from start to finish.
How Do You Replace a Pocket Door: Step-by-Step Guide
Follow these clear steps. Work slowly, stay organized, and ask a helper to hold the door when needed.
Before you start, gather tools
Screwdrivers, pliers, small pry bar, putty knife, utility knife, level, tape measure, wood shims, replacement rollers, new track if required, finish nails, hammer, silicone spray, painter’s tape, drop cloth.
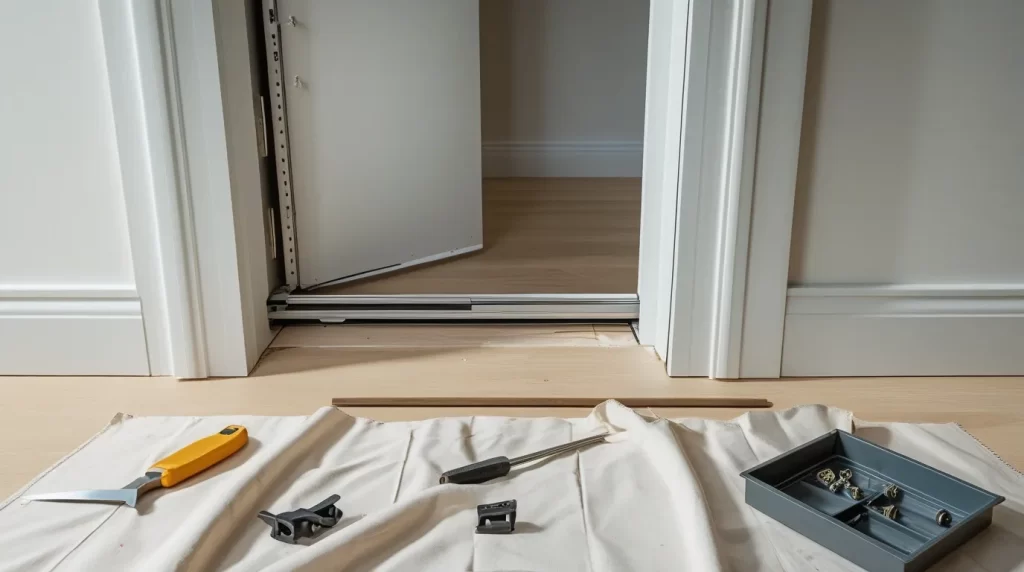
Step 1, Prepare the area
Lay a drop cloth on the floor. Tape along the trim to protect paint. Slide the door so it sits halfway open. This gives you room on both sides.
Step 2, Score paint lines
Run a utility knife along the edges where trim meets the wall. This prevents peeling when you pry the trim.
Step 3, Remove interior stop and casing trim
Start with a putty knife to loosen the trim, then use a small pry bar. Work in short moves. Save all nails and screws in a cup. Label the pieces so you can put them back in the same spots.
Step 4, Expose the hanger hardware
Look at the top of the door. You will see two hangers that connect the door to the rollers. Some doors have small access slots or caps. Remove any caps. You should see the hanger screws.
Step 5, Unhook the door from the rollers
Have a helper lift the door slightly to take weight off the hangers. Use a screwdriver to loosen the hanger screws. Tilt the bottom of the door toward you, then lift and unhook the hangers. Do not force it.
Step 6, Slide the door out of the pocket
Pull the door straight out of the wall cavity. Set it on a soft surface, like two padded sawhorses. Keep the top edge clean so it does not pick up grit.
Step 7, Inspect the rollers and track
Shine a light into the pocket. Check for flat spots on the wheels, bent hangers, missing screws, or a dented track. Clean the track. Vacuum dust and debris. Lightly wipe with a dry cloth.
Step 8, Replace worn rollers
Remove the old hangers from the top of the door. Install new hangers or roller assemblies. Tighten all screws firmly. Do not overtighten into the wood.
Step 9, Replace the track if needed, no wall opening required
Remove the old track screws at the head opening. Slide the old track out through the door opening. Feed the new track in the same way. Center it in the pocket, then secure it with new screws. Use a level. If the track is not level, add thin shims at the screws until it is straight. A straight track gives a smooth glide.
Step 10, Lubricate correctly
Spray a small amount of silicone on the track. Do not use grease. Grease attracts dust and causes future sticking.
Step 11, Rehang the door
Lift the door and hook the hangers onto the roller pins. Make sure both sides are fully seated. Slide the door a few inches to confirm it does not bind.
Step 12, Adjust for smooth travel
Use the hanger screws to raise or lower each corner. Aim for an even gap at the floor and at the jamb. Check that the latch side meets the strike plate cleanly. The door should close without rubbing.
Step 13, Reinstall stops and trim
Nail the stop back in place, then the casing. Nail into solid framing, not into the track. Fill tiny holes with wood filler. Caulk light gaps. Touch up paint if needed.
Step 14, Final test
Open and close the door ten times. Listen for scraping, watch for sway, and feel for bumps. If you notice a rub inside the pocket, loosen the nearest screw, add a thin shim at the head, retighten, then test again.
Safety notes
Wear eye protection and work gloves. Cut paint lines before you pry. Never force a stuck part. Use a helper when lifting the door. Keep fingers away from pinch points at the rollers.
Quick results check
The door should glide quietly, stop flush with the jamb, latch cleanly, and sit level. If it drifts open or closed by itself, the track is not level. Adjust with shims until it stays put.
Pocket Door Removal Tips for Beginners
For beginners, pocket door removal may feel intimidating. But with some tips, the process becomes easier. First, protect the area by covering floors with a drop cloth. This prevents scratches and dust. Second, always score along the trim with a utility knife before prying. That keeps paint from peeling.
Third, lift the door slowly instead of yanking it. If it resists, check the rollers. Sometimes a screw or clip is holding it in place. Fourth, label parts if you plan to reinstall them. Beginners often forget which screw goes where. Taking photos during each step helps avoid confusion later. With patience, pocket door removal is much less stressful.
Removing Pocket Door from Track Without Causing Damage
One of the trickiest steps is removing a pocket door from track without damaging walls. The secret is gentle tilting. Lift the door upward to unhook it from the rollers. If trim or paint sticks, cut the seam with a knife first.
Another tip is to use two people. One person lifts the door, while the other guides it out of the cavity. This prevents bending the track or scratching the wall. Check the track after removal. Dirt, dust, or bent metal often cause sticking. Cleaning or replacing the track ensures smooth movement for the new door.
How to Remove a Pocket Door to Paint or Refinish
Sometimes replacement isn’t needed. Instead, you might just want to remove the pocket door for painting. In that case, follow these steps:
-
Remove trim around the opening.
-
Lift the door carefully from the rollers.
-
Place it on sawhorses for stability.
-
Sand the surface lightly to remove old finish.
-
Apply primer and then paint or stain.
-
Let the door dry fully before reinstalling.
Painting with the door in place often leads to messy edges. Taking it out makes the job cleaner. A fresh coat of paint can also add years of life to your pocket door without the cost of replacement.
How to Change a Pocket Door with Ease
Changing a pocket door doesn’t always mean replacing the whole system. Sometimes only the panel needs updating. To do this, remove the old panel and measure the exact height and width. Buy a new door panel that matches those dimensions.
Once you have the new panel, attach it to the existing rollers. Slide it into the cavity and test the motion. If it drags or tilts, adjust the rollers or add shims. This process is easier than full replacement and is perfect when you want a new style or color. Changing the panel can give your space a fresh look without major construction.
Replace Pocket Door Tracks Without Complicated Wall Work

A common myth is that replacing pocket door tracks requires opening walls. Modern kits have solved that problem. Many tracks are designed for easy replacement through the door opening. Special brackets make it possible to remove the old track and slide in a new one.
This saves time and avoids drywall repair. Always choose strong tracks made from durable metal. Cheap tracks bend easily and lead to future problems. Replacing the track without wall work is a cost-effective way to fix dragging or sticking doors. It’s one of the best solutions for extending the life of your pocket door system.
Common Mistakes During Pocket Door Replacement and How to Avoid Them
Mistakes happen when rushing or skipping steps. One common mistake is forcing the door out of the track, which cracks drywall. Another is forgetting to check the level of the frame. A tilted frame causes the new door to slide unevenly.
Using old rollers is another error. They may look fine but often cause problems later. Also, many people skip measuring, which leads to doors that don’t fit. To avoid these mistakes, go slow, double-check your work, and invest in quality parts. Repairing pocket doors takes patience, but the effort pays off with smooth results.
Expert Help from Repair Champions for Pocket Door Replacement in Irvine, CA
While DIY replacement is possible, some situations call for expert help. If the track is hidden deep in the wall, or if the frame is warped, you may need professionals. That’s where Repair Champions can help.
With years of hands-on experience, Repair Champions understands pocket door systems inside and out. They provide removal, replacement, and refinishing services that last. Homeowners in Irvine, CA, trust them because they deliver clean, professional work. Whether your door is stuck, broken, or outdated, expert service ensures a smooth glide every time.
If your pocket door drags, sticks, or looks outdated, it’s time for a fix. Call Repair Champions today and let experts handle your pocket door replacement with care and precision.