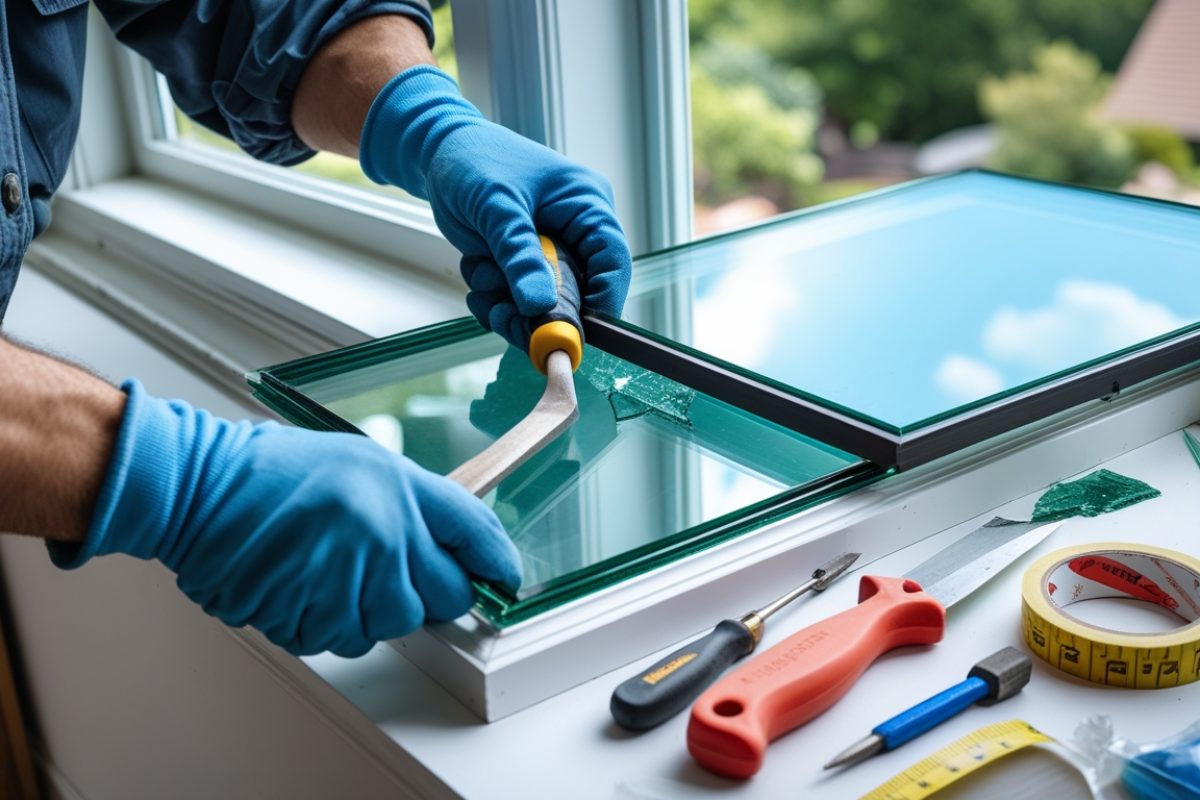
To replace the glass in a vinyl window, first, remove the sash and carefully take out the broken glass using a flathead screwdriver and chisel. Clean the window frame, insert the new glass, secure it with glazing compound or adhesive tape, and reinstall the sash once everything is dry
A vinyl window is an important part of any home, allowing natural light in while keeping out the weather. However, accidents happen, and sometimes, the glass in a window can crack or break. Instead of replacing the whole window, you can save money and time by just replacing the glass. In this guide, we will walk you through how to replace the glass in a vinyl window using simple tools and materials. Whether your window has a crack, foggy glass, or a completely shattered pane, this step-by-step method will help you fix it safely and efficiently.
Why Replace the Glass Instead of the Whole Window?
Replacing an entire vinyl window can be expensive and time-consuming. In many cases, the window frames and other parts are still in good condition. Here are some reasons why replacing only the glass is a better option:
✅ Cost-effective – Buying a new window is expensive, while replacing just the glass is much cheaper.
✅ Less time-consuming – A full window replacement requires removing the entire frame, while changing just the glass is a quicker process.
✅ Easy to do yourself – With the right tools and some patience, you can replace the glass without professional help.
Now, let’s get started on replacing the glass in your vinyl window!
Tools and Materials You Will Need
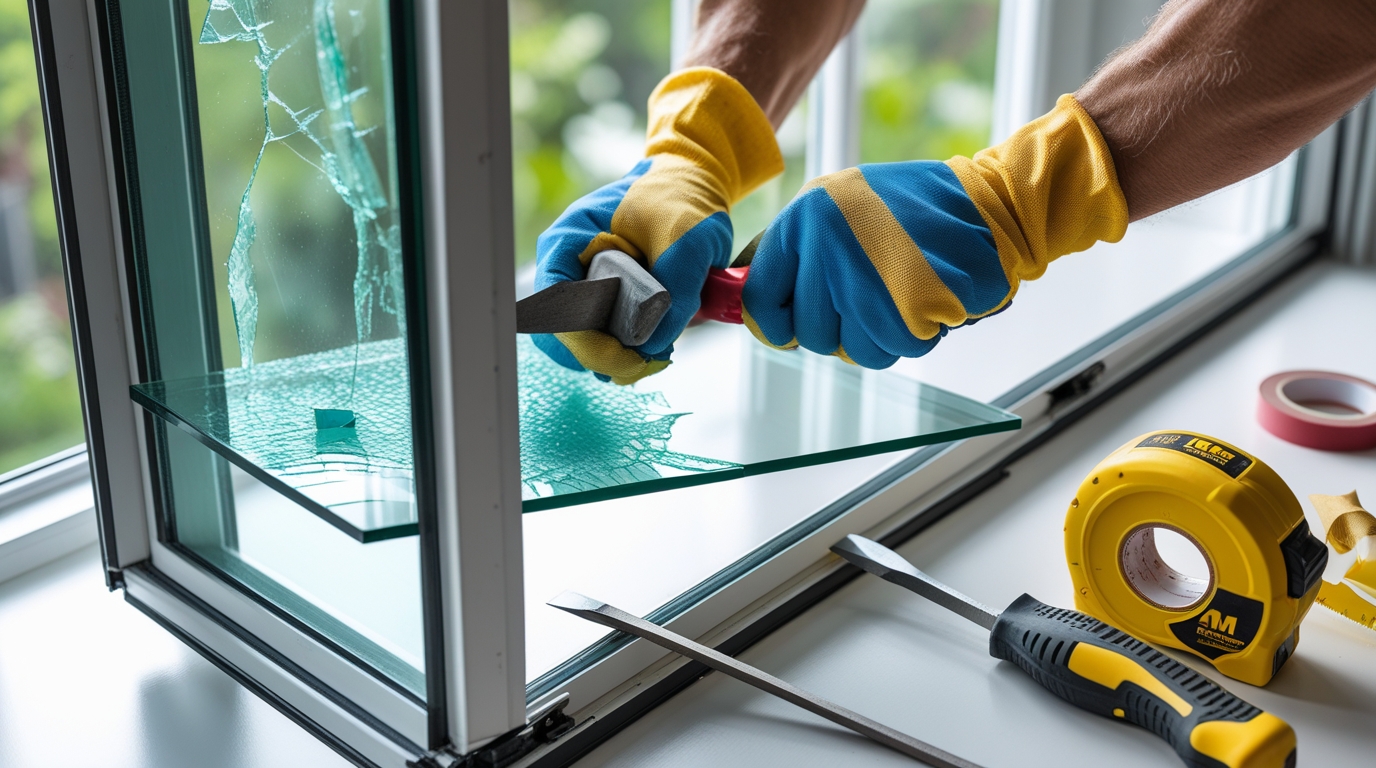
Before you begin, gather the following tools and materials:
✔ Gloves – Protects your hands from sharp edges.
✔ Shoes – Wear sturdy footwear in case of broken glass.
✔ Flat-head screwdriver – This helps remove the sash and loosen parts.
✔ Knife – A utility knife helps cut through the old adhesive.
✔ Chisel – Useful for prying off stubborn pieces of glazing or adhesive.
✔ Measuring tape – To measure the new glass accurately.
✔ Acetone – This is used for cleaning the window frame before installing new glass.
✔ Adhesive tape helps secure the new glass in place temporarily.
✔ Glazing compound – This seals the glass inside the window frame securely.
✔ Replacement glass – The new glass must match the size of the broken one.
Once you have everything ready, follow the steps below carefully.
Cost of Replacing Glass in a Vinyl Window
The cost of vinyl window glass replacement depends on several factors, including window size, glass type, and labor costs (if hiring a professional). Below is an estimated breakdown:
1. Cost of Replacement Glass
- Single-pane glass: $50 – $150 per window
- Double-pane insulated glass: $100 – $300 per window
- Tempered glass: $150 – $400 per window
2. Additional Material Costs
- Glazing compound (seals the glass in the frame) – $10 to $25
- Adhesive tape – $5 to $15
- Acetone (for cleaning) – $5 to $10
- Measuring tape – $10 to $20
- Flathead screwdriver, knife, and chisel (if not already owned) – $20 to $50
3. Professional Installation Cost
- If you hire a professional, labor costs range from $100 to $300 per window, depending on complexity.
Total Estimated Cost
- DIY replacement: $75 – $350 per window
- Professional replacement: $200 – $600 per window
💡 Tip: If you have multiple windows needing replacement, consider buying materials in bulk to save money.
Step 1: Measure the Glass Size
Before buying a new glass pane, you need to measure the old one.
- Use a measuring tape to determine the exact width, height, and thickness of the broken glass.
- Write down the measurements and double-check to make sure they are accurate.
- Order the replacement glass from a local glass supplier or hardware store.
Tip: If the glass is completely shattered, measure the inside of the window frame to get the correct size.
Step 2: Remove the Window Sash
The sash is the part of the window that holds the glass. If you have a sliding window, follow these steps:
- Carefully lift the sash upward and pull it out of the window frame.
- If the sash is stuck, use a flathead screwdriver to gently pry it loose.
- Place the sash on a flat, clean surface to work on it easily.
For non-sliding windows, you may need to remove screws or clips holding the sash in place.
Step 3: Remove the Broken Glass
⚠️ Wear gloves and shoes for safety before handling broken glass!
- If the glass is still in one piece but cracked, apply adhesive tape across the surface to prevent small shards from falling.
- Use a knife or chisel to remove any glazing compound or adhesive around the edges of the glass.
- Carefully lift out the glass or push out the loose shards.
- If the glass is shattered, use a flat-head screwdriver to remove any remaining pieces.
Tip: Place a cloth under your work area to catch any broken pieces for easier cleanup.
Step 4: Clean the Window Frame
Once the old glass is removed, you need to prepare the window frame for the new glass.
- Use a chisel or knife to remove leftover glazing or adhesive from the frame.
- Apply acetone to a cloth and wipe the surface clean.
- Make sure the frame is smooth and dry before installing the new glass.
Cleaning the window frame ensures that the new glass fits securely and seals properly.
Step 5: Install the New Glass
- Position the new glass inside the window frame, making sure it fits perfectly.
- Use adhesive tape to hold the glass in place temporarily.
- Apply glazing compound around the edges to seal the glass.
- Smooth the glazing with a knife or your finger for a clean finish.
- Let the glazing dry completely before reinstalling the sash.
Step 6: Reinstall the Window Sash
Now that the new glass is securely in place:
- Carefully lift the sash and place it back into the window frame.
- Make sure the sliding window moves smoothly.
- Secure any screws or clips if needed.
Your window is now as good as new!
How to Maintain Your Vinyl Windows
To keep your vinyl windows in great shape, follow these simple maintenance tips:
✔ Clean the glass regularly – Use a mild cleaner or acetone for tough spots.
✔ Check for condensation – If you notice foggy or wet windows, there may be a sealing issue.
✔ Inspect the glazing – Over time, glazing can crack, so replace it if necessary.
✔ Lubricate moving parts – If your sliding window sticks, clean and lubricate the tracks.
Taking care of your vinyl windows will make them last longer and keep them looking new.
Conclusion:
Replacing the glass in a vinyl window may seem challenging at first, but by following these steps, you can do it yourself safely and efficiently. By measuring correctly, handling the sash carefully, and using the right tools like a flathead screwdriver, knife, chisel, and adhesive tape, you can restore your window without hiring a professional. With the right maintenance, your vinyl windows will continue to brighten your home and keep it insulated for years to come. Now that you know how to replace the glass in a vinyl window, you’re ready to take on this simple yet valuable home improvement project!

